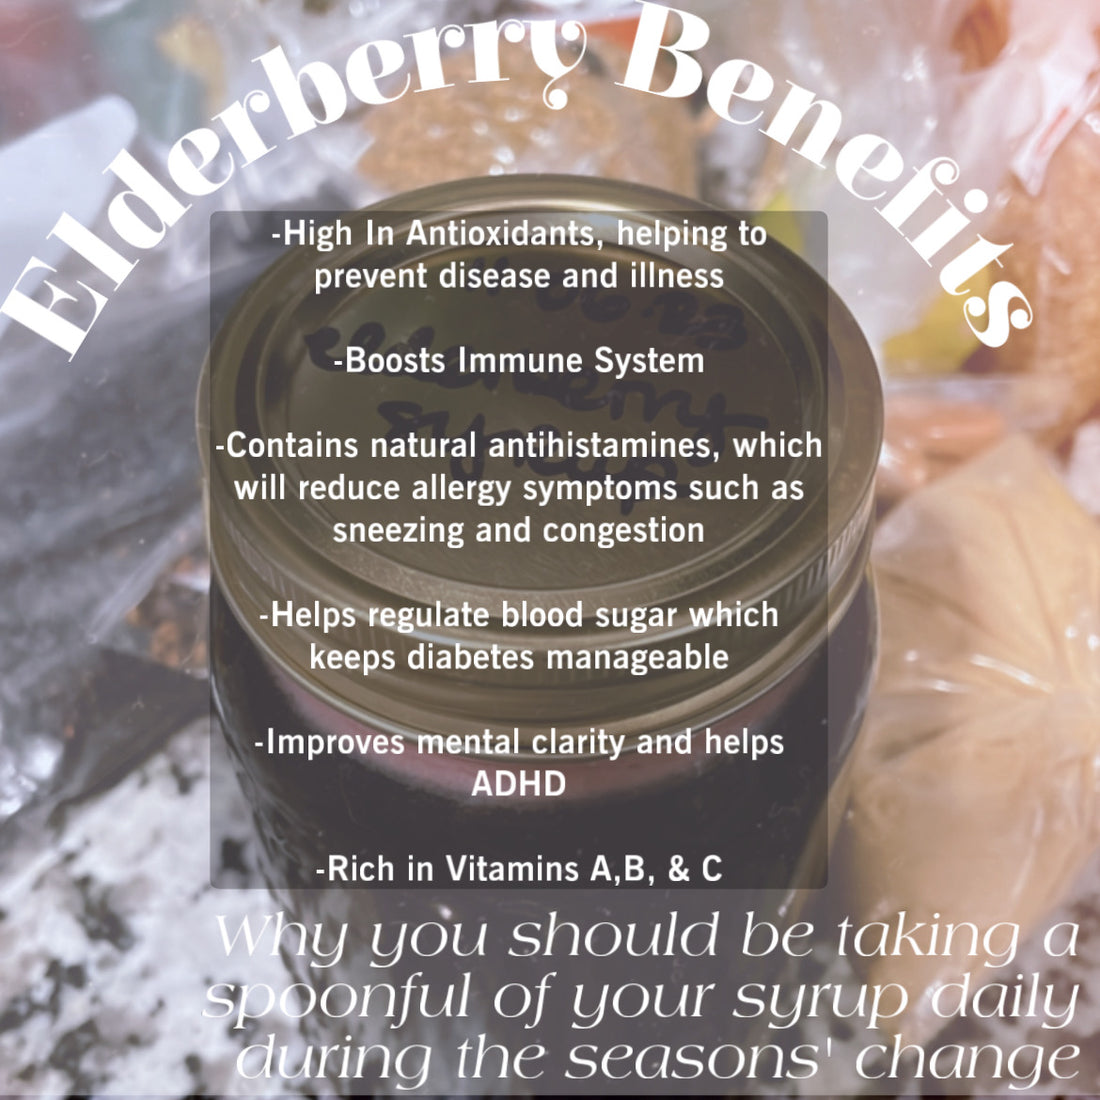
I still can't believe it's taken me YEARS to source fresh, local elderberries to use in my own elderberry syrup. But- I FINALLY did- and I'm here to share my own recipe with you.
This syrup has been years in the making. Years of research, years of hands-on-learning in the field of plant-based medicine, and years of literally pining to make and taste my own elderberry syrup.
I got my hands on dried, organic, local elderberries from my favorite USDA organic farm in Livingston, California. Riverdance Farms hosts a U-Pick event twice a year to allow the community to come enjoy harvesting their own fruits, veggies and herbs. I visited the farm late in the season, when the elderberries were already drying and molding on the trees (daaaaangit). CIndy was nice enough to gift me a whole bag from her own pantry! I was so stoked!
When working with dried material, you can cut the recipe in half- if a recipe calls for 4 cups of fresh material, you can use 2 cups of dried material. I find this super useful since I work mostly with dried material in my recipes. I'm terrified of botulism , so I like to make sure I can dry what material I can. (some recipes and creations DEPEND on FRESH material, those are my enemy)
Most of the ingredients can be found at your local Winco or bulk foods place. Enjoy your antioxidant-rich syrup!
Recipe and recipe card below:
Elderberry Syrup
Needed
2 cups dried (4 cups fresh) elderberries
2 cinnamon sticks
4 cups filtered or distilled water
6 whole cloves
1 tablespoon dried ginger
1 cup local honey
Bring water, elderberries, ginger, cinnamon,and cloves to a boil. :Do not heat honey, it will kill enzymes we are trying to preserve. Once in a boil, reduce heat and simmer covered for 45-60 minutes. Let the liquid cool a bit before straining into your jar with honey. Mix well and store in the fridge for up to 3 months. Take a spoonful of this syrup daily to combat sickness and illness.


